How to Set Up for Online Piano Lessons
Creating the right environment can have a huge impact on your online lesson, regardless of your available equipment. While there are improvements that cost money (newer devices, better webcams, microphones, upgraded audio inputs, etc.), any device you have available now can give you an excellent result. Here are some guidelines:
Create a quiet space for your lessons. A noisy environment makes it difficult to make music and to communicate with each other.
Ask household members to hang out in another room while your lesson is happening, if possible.
Can your keyboard move to a quieter place? That’s sometimes a good option.
Set up your piano or keyboard properly. This should be your set up for practicing, too.
Is your keyboard at the right height and on a stable stand?
Is there a stand for your music?
Is your chair or bench at the proper height?
Is your pedal plugged in?
Have all your music, metronome, pencil, etc. ready to go.
Make sure your internet connection is consistent.
Can you plug in an ethernet chord? That’s the best way to have a clear connection.
If not, check to make sure you are getting a very clear wifi signal
Sometimes just moving your device to the other side of the keyboard can make a difference.
You may need to move your keyboard to a spot closer to the wifi router.
Occasionally, electronic interference can affect wifi, such as running a microwave, so check to see if that could be an issue if you are experiencing a choppy connection.
Ask others to refrain from streaming video or downloading files while you have your lesson. This leaves more bandwidth for your lesson.
Choose your device. Any phone, tablet, or computer you have available right now will work. If you have multiple devices (computer, phone, or tablet), try them out to see which one gives the best sound and picture. Generally a laptop will be the best option, but sometimes a newer phone could be better if your laptop is an older model, has less memory, or has a lower quality camera or microphone.
Set up Zoom. Adjust Zoom settings so that the sound is clearer for your teacher. Here’s a blog post on how to do that on a computer, tablet, or phone. If your teacher can hear more dynamics and other details, you’ll get more out of your lesson.
Make sure you can hear your teacher. Some people use headphones or a speaker so that the sound is clearer.
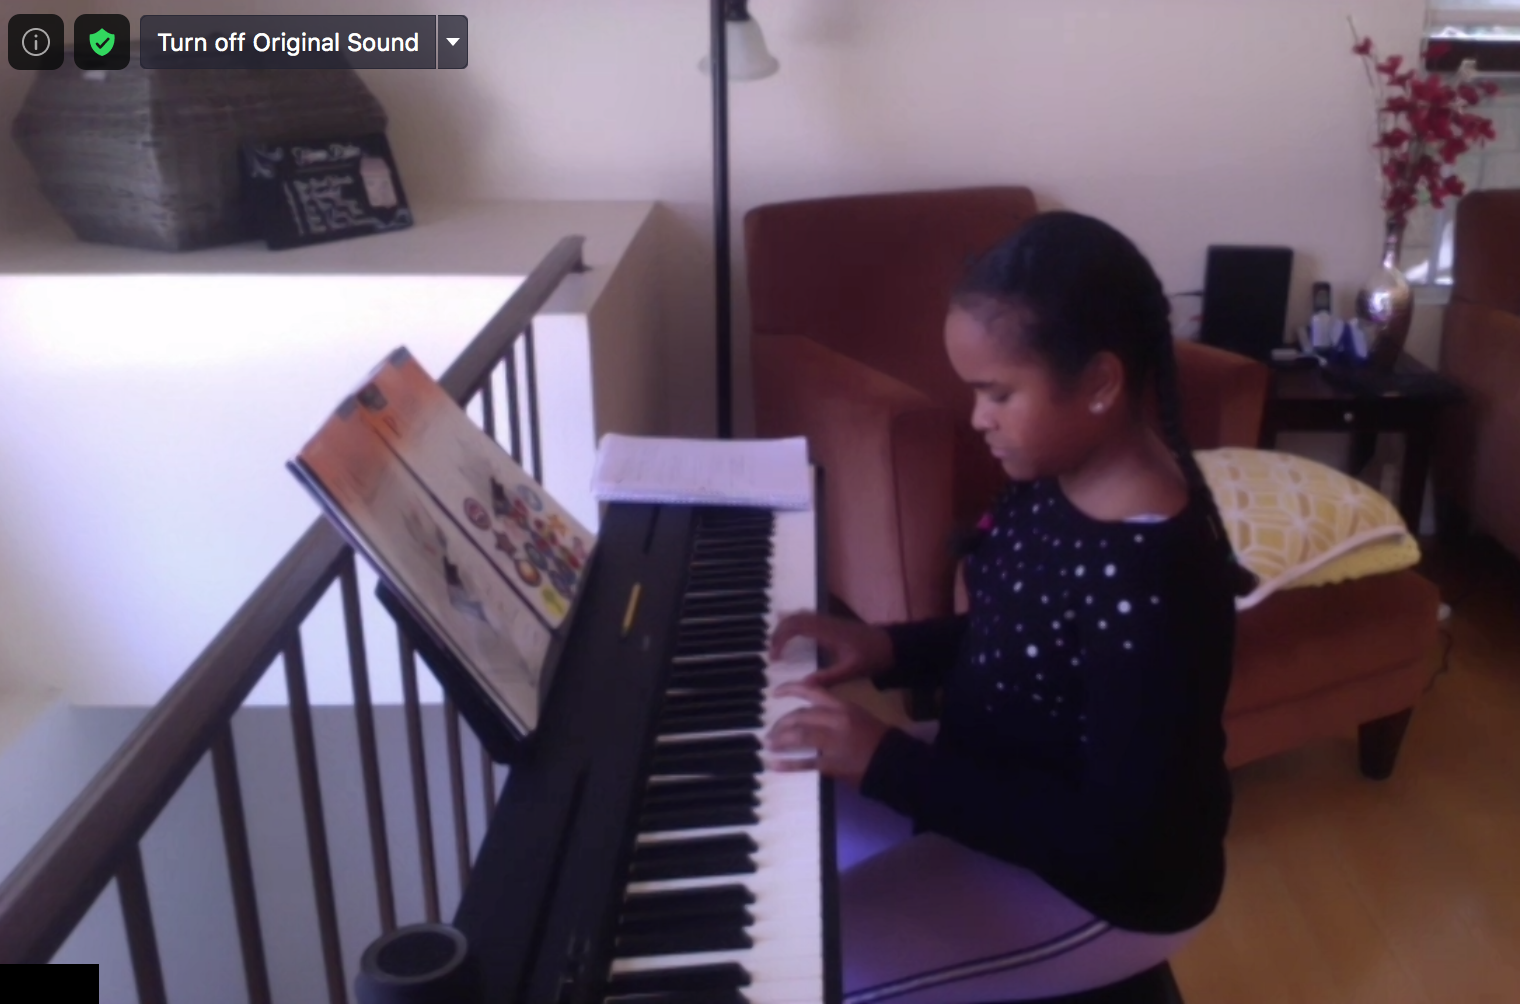
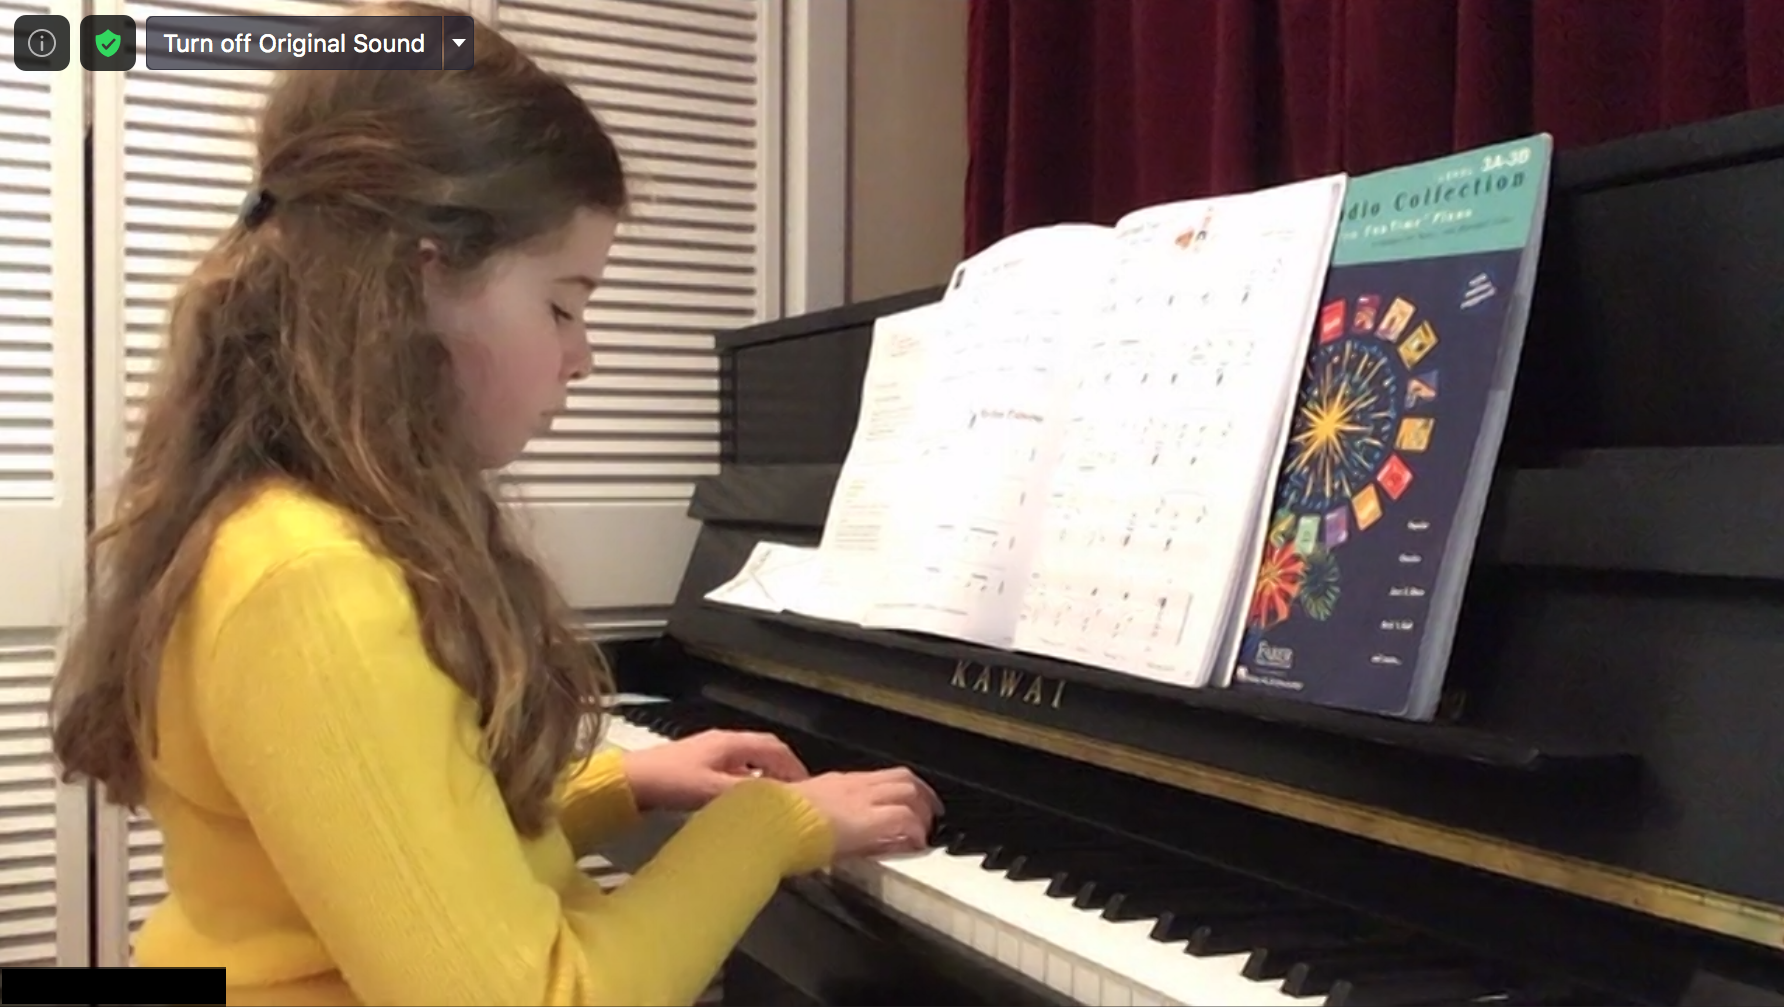
Set up your camera/device in a stable spot so that your teacher can see your face and your hands. Seeing your face helps your teacher understand how you are processing what you are learning. Seeing your hands help them understand technical issues.
Is there a table or chair available for your device?
Can you use a box or books to lift it to the right height?
Is the angle just right? Sometimes finding the right tilt for the device is the key to a good set up. It can be tricky to tilt a tablet; can you prop it against something to get the right angle?
Setting it on the keyboard or piano tends to make it too close for a good angle.
Here are examples of good angles to try for a piano lesson (taken from the perspective of the device):
The good news is that things that can make a huge impact on the quality of an online lesson are free! If you have a little money to spend and want to upgrade:
Advanced students may find it useful to invest in a microphone and/or audio interface so that your teacher can hear you play more clearly. These can also be useful for recording yourself.
Can you upgrade your internet? This can help create a more stable environment for your lesson. A better router or a wifi extender can also help with this.
If you take a few minutes to set up well, you can have a better lesson experience. See you online!