Great Free Apps for New Music Students

Since so many music students have access to iPads and iPhones I thought it would be useful to put together a list of great free apps. For those of you who use Android devices I’ve provided links where available.

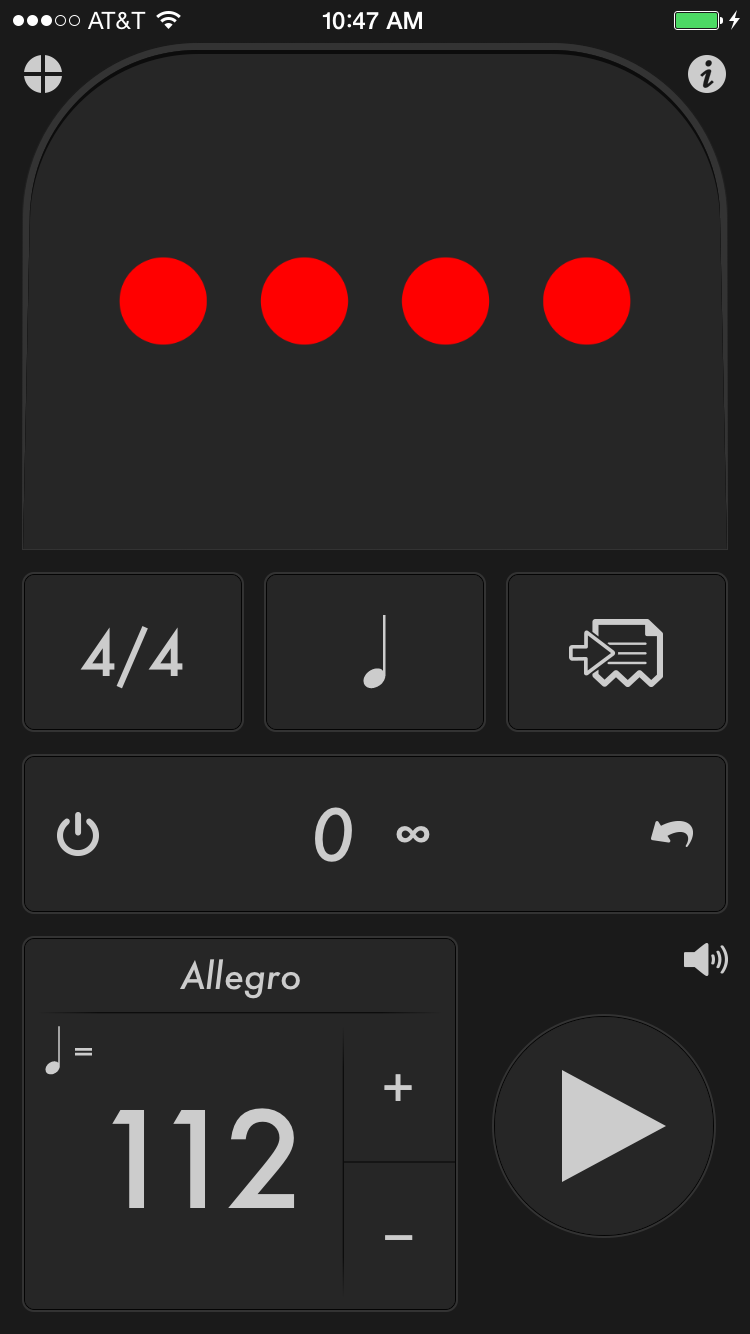
Metronome: Tempo Lite by Frozen Ape 

A metronome is an essential part of any music student’s tool bag. This is a great metronome app; it is accurate and flexible. The free version has everything a new music student will need, if your music gets complicated you can upgrade to the paid app. And, if you’re an Android user there’s a paid app version for you.

Music Tutor (free) by JSplash

A great way to learn all the notes on the staff. The free version has ads, but it’s worth it for a quick and fun way to master the note names. You can customize it so that students only learn a portion of the notes at a time and then add in notes as they learn them on their instrument. There is an Android version, too.

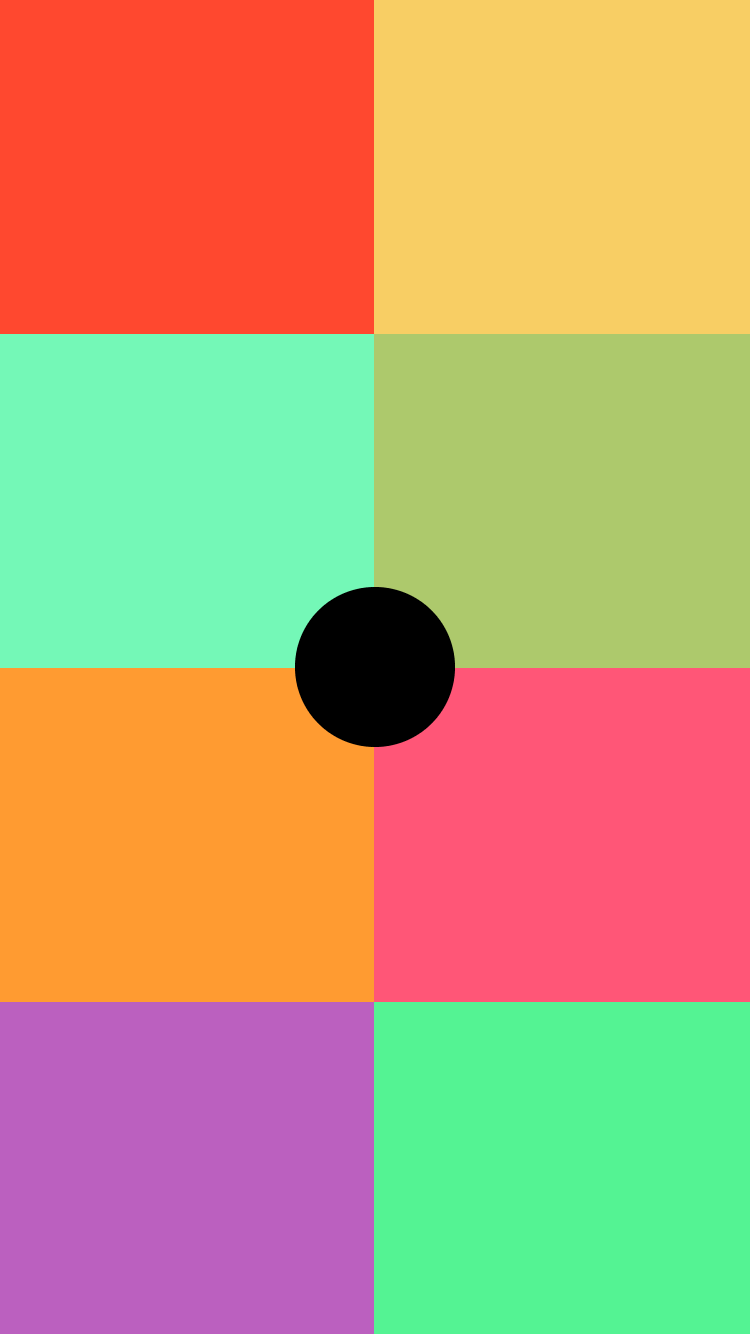
Keezy Drummer by Elepath

This app is a fun way to experiment with rhythms. All the beats are in 4/4 time, but if students are resisting the metronome, this can be a fun alternative. Unfortunately, there is no Android version for Keezy apps yet.
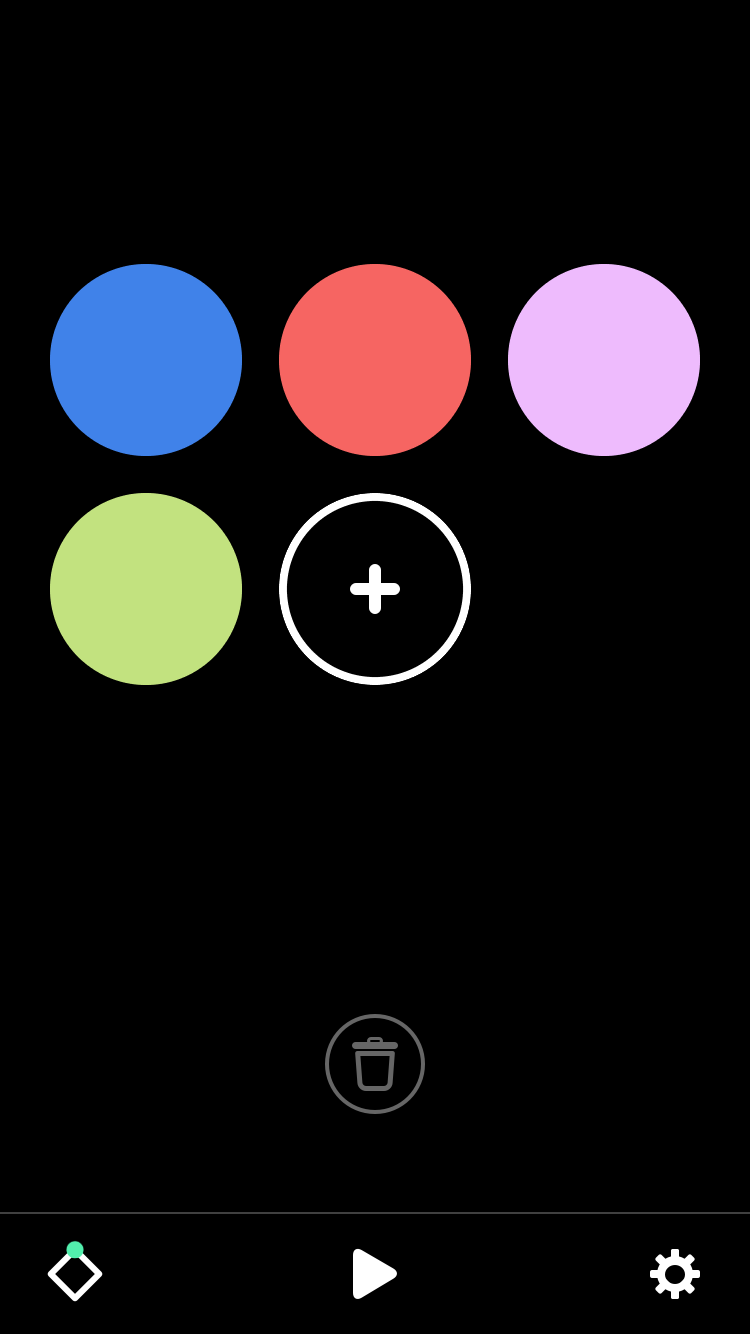
Keezy by Elepath

From the same company, a great app for stepping into the creator’s shoes. You can use their sounds or make your own and then play them using the colorful buttons. It is a great way to think about music away from your usual instrument.

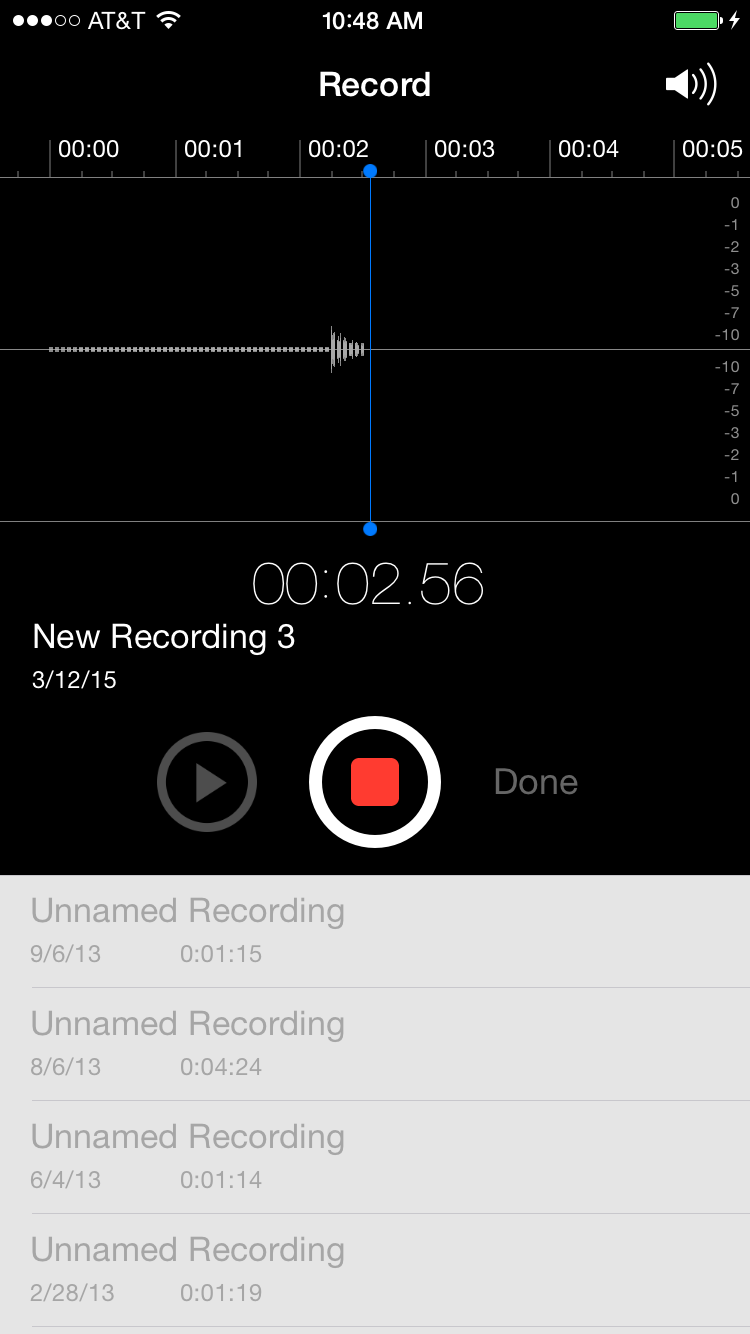
Voice Memos by Apple

It’s always great to have a recording device handy and since most people have a phone with them at all times it's the perfect solution. I encourage voice students to record their lessons so they can remember what we talked about and so they can use the warmup exercises from their lessons during the week. Instrumentalists and singers can use it to record an example from a lesson or to record something during practice that their teacher can then hear in a lesson. It comes standard on an iPhone.

GarageBand by Apple

If you want a great free recorder for iPad try GarageBand. This is great for recording via the built in microphone. Students can also experiment with composing for different instruments and play with loops.

More Advice on Practicing

She plays

It's the start of another school year and a good time to re-think practice routines. I've posted about practicing in the past, but I'm always on the lookout for more practicing strategies.

Deceptive Cadence (NPR's classical music blog) has posted an article called 10 Easy Ways to Optimize Your Music Practice. There are some great ideas for developing musicians, including:

Begin with the end in mind: have a goal for each practice session before you start playing. Just playing through your music isn't the same thing as practicing. Before you start, think: What do I want to accomplish today?

Last year, they posted a series of articles called The Young Person's Guide to Making Music, geared towards parents and students just starting out in music. The article that stands out among these is Getting Kids to Practice Music – Without Tears or Tantrums.

Regular practicing is a path towards self-discipline that goes way beyond music – it's a skill that has hugely positive ramifications for personal fulfillment and lifetime success…. But the trick is that self-motivated discipline isn't exactly first nature for most kids, so it's up to families to help create positive, engaging and fun ways to practice as a path towards self-motivation.

The articles are full of great advice, so take a few minutes to go read them!

How to Practice: 10 Tips for New Voice Students

Many new voice students do not have a full understanding of what it means to practice between lessons. Singing through your pieces several times may help you memorize them, but you won't learn how to correct musical and technical mistakes. Students should approach each practice session as they should each lesson; with an open mind, and willing to experiment. This list is by no means complete, but here are 10 tips to incorporate into your practice time.

  1. Record your lesson. This is useful for remembering what to work on between the lessons since there often isn't time for your teacher to make written notes for you. You will also be able to hear the difference your practicing makes over time.
  2. Practice often. It is much better to work on your singing a little bit each day rather than one longer session the day before your lesson. Singers are like athletes; we are training our muscles to perform special skills. Like athletes, waiting until the last minute and doing one long prep session will get you nowhere.
  3. If you are ill, feel pain in your throat, or if you begin to loose your voice, stop singing. Singing should always feel free, not forced. If there is pain or you become horse, you are doing it wrong or there could be a medical issue that may need to be addressed by a doctor.
  4. Warm-up using exercises your teacher introduced in the lesson. Take this time to focus on different technical aspects of singing such as breath, posture, resonance and diction. Often, each exercise is meant to work on a particular skill. If you are unsure what skills go with each exercise, ask your teacher. If you work better with imagery, use the image you've worked out with your teacher for each exercise.
  5. Work on pieces in sections of 4-8 measures. You can do various exercises in each section to work on different technical aspects. For example: to work on breath, sing a section on a tongue trill (rrrr); to work on phrasing sing legato on a vowel instead of the words; or to work on rhythm, count a section while singing. Once each section is perfected you can put the piece back together by grouping sections together.
  6. Take note of trouble spots. If you make a mistake more than once, go back and correct it. Sing the notes on different vowels and then with the words. Then put the trouble spot back into the rest of the phrase to give it context.
  7. Remember that the way you say the words matters as much as the meaning. Work on correct diction as part of your practice time. One way to do this is to speak the words with a resonant voice, both with the rhythm and as you would if you were in a play.
  8. Learn to read music using solfeggio (do, re, mi, etc.) or another system. Learning notation and music theory will help you learn pieces more quickly and you will understand them better. Learning another instrument is a good way to achieve this.
  9. Approach each piece as an actor. Your job is to interpret the intent of the composer and poet/lyricist for the audience. This means you must understand the meaning behind the words and the notes. Practice time needs to include some time for research.
  10. Take time to listen to many other singers in many different styles. You have a unique voice, so listening to others, both those who have voices similar to yours and those who are very different, will give you a better frame of reference for your own voice.

How to Practice: 10 Tips for New Pianists

A girl at the piano

Once students understand why practicing is necessary and how to get motivated to do it, students need to know what to do during a practice session. Many students take for granted that if they just play their pieces over and over that's enough to get better. This is never enough to bring a piece to performance level. Here are a few ideas to get a new student started practicing in a better way:

  1. Warm up before diving into your pieces. Many students forget that scales, arpeggios and other technical patterns are important tools to get your fingers and your brain ready to play. Make it fun by inventing new rhythmic patterns or challenging yourself to play at a fast tempo while staying steady, smooth and even. Take this time to focus on technical details like hand shape, posture and articulation.
  2. Play a piece while saying or singing the note names. If that is too hard you can say the note names while pointing at the notes on the page at first. This helps students become excellent note readers early on.
  3. Play a piece while counting. First count out loud for several days, then count in your head. If the rhythms are new or very tricky, begin by clapping the rhythms while counting out loud.
  4. Play while focusing on the interval shapes. Think to yourself up a 2nd, up a 3rd, down a 5th, etc.
  5. Take time to fix your mistakes. Focus in on the measure where the mistake happens, repeat that measure until you can play it 3 times in a row perfectly. Next put it in context, include the measures surrounding the mistake and then play the entire phrase. When you return to the song the next day, check the trouble spots before you play the piece.
  6. When pieces require hands playing at the same time, start by playing left hand alone, right hand alone, then hands together.
  7. Work backwards in small sections while learning a piece. We all have a tendency to start at the beginning and run through a piece in it's entirety. Instead take the last 4-8 measures first, then add the previous 4-8 measures continuing until you get back to the beginning. This way you give the end some extra practice time.
  8. Use a metronome. Coordinating with a machine may seem counterintuitive while working on art but it will help students be very precise with rhythms while learning so that once they know a piece they can keep that precision without being stiff and mechanical. To get used to it, start by playing scales. When you work on a piece, start at slow tempo; one where the piece can be played perfectly, without pauses. Once a tempo is mastered, students can speed it up. One way to do this is to go up by 5 clicks in each shift, another way is to go 10 clicks faster and then back 5 clicks slower (i.e. start at 90 move to 100 and then back to 95) continuing until you come to the final tempo.
  9. Remember to use your imagination. The reason you work on technique is so that you have the tools to make beautiful music. Make up a story or a picture in your head to go with the piece you are playing. It will make it more fun for you, and those listening will enjoy your performance more.
  10. Reward yourself! End a practice session playing your favorite piece. This will help you remember that your hard work will pay off.

On Practicing

Pierre-Auguste Renoir: Girls at the Piano, 1892 - Musée d'Orsay, Paris

Good friend, colleague, excellent teacher, and director of Musical Beginnings (where I teach most of my students), Linda, has a blog where she has posts on why to practice and tips on how to get students to practice.

Getting students to practice regularly is one of the biggest challenges of teaching music. It generally boils down to making it a priority. Here are a few Practicing Tips from Linda:

·      Stack the deck with loaded choices such as “Can you help me with these dishes or were you about to go practice?” or  “I’d like you to fold the laundry, unless you were on your way to practice…?”

·      A sticker chart, that old stand-by, works well with younger children. The concept of sitting down to practice 5 Steps Up today so they can know how to play a Mozart sonata in many tomorrows may be too abstract to motivate them. The knowledge that they’ll get to pick a sparkly sticker and that five stickers equals a trip to the park isn’t.

·      A no-screen-time rule until practicing has been done.

Part of getting students to practice is understanding why it is necessary. From Linda's Why to Practice post:

…rarely does a child stop music lessons because they just couldn’t abide their 20-minute-a-day practice regimen. Mostly they stop because they so seldom sit down to practice that they’re not learning to play, and so it gradually becomes less important to both them and their parents. And, the vast majority of our advanced students throughout the years have had a practice routine dictated to them, at least at the beginning...

For more excellent advice and insight, visit Teacher Linda Talks.